As part of comprehensive building maintenance, the owner and facility manager have countless items to oversee, including mechanical equipment, indoor air quality, and exterior structural elements, just to name a few. Another of these areas, sealant joints, can be frequently overlooked.
What may appear to be a minor aspect of the building envelope is actually critical to the success of an air- and water-tight structure. In this blog post, we will explain why it is important to watch for sealant issues, what could happen if you neglect to do so, and how to make the repairs.
Risks Associated with Sealant Failure
Even the highest-performing sealant can fail with improper application, insufficient substrate preparation, incompatible materials or just extended exposure time. With thousands of lineal feet of sealants on a building, there is a lot of room for potential error.
Sealants, regardless of their chemical makeup – silicone, urethane, foam, hybrid, etc. – are the key to transitioning dissimilar materials on a building and can be found at the following locations:
- control joints
- window-to-wall connections
- precast
- foundation
- EIFS
By following recommended sealant guidelines and inspecting these vulnerable areas of the building, you can help prevent air and moisture ingress that can lead to leaks, discoloration of the façade, and mold, at a minimum. For a building with severe water infiltration, it can be time-consuming and costly to identify the source, diagnose the cause, and perform the repair. This process of “leak-chasing” is a huge headache for everyone involved. Once identified, the issue and the repairs themselves, can result in extended building closures, occupant disruption and lost revenue. By conducting regular inspections and fixing minor sealant problems now, you can mitigate long-term damage and the need for a full façade restoration.
How to Identify Potential Sealant Issues
Even an untrained eye can easily spot if a joint is compromised. Here are the main items to look for:
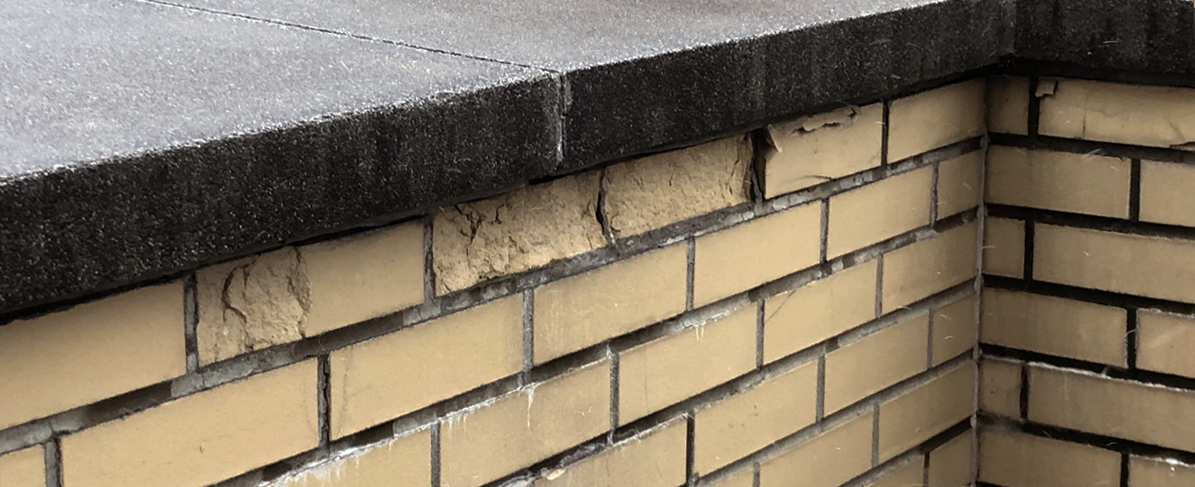
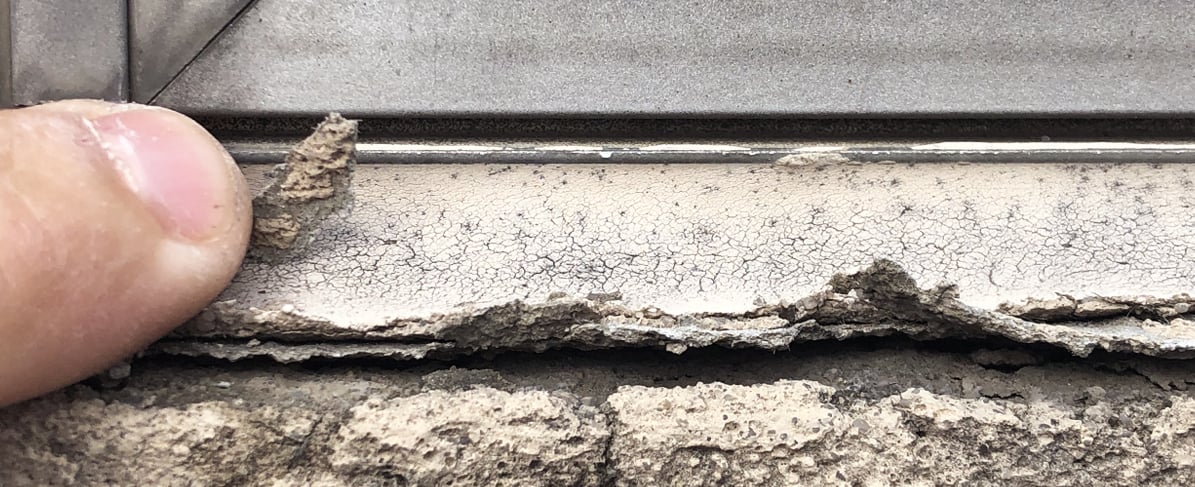
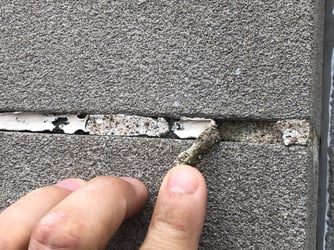
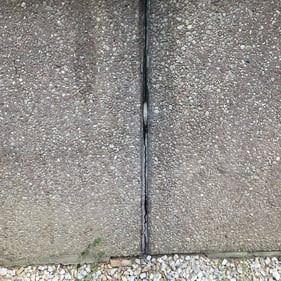
- Cracking- After years of natural building movement, weather and UV exposure, improperly maintained sealants can deteriorate or crack, allowing for moisture ingress.
- Peeling- If a sealant has poor adhesion or compatibility, it can begin to peel away from the substrate, leaving a gap directly into the wall cavity.
- No sealant- In some cases, sealant may be missing altogether from a particular location which can be detrimental if the gap is left exposed.
Repairing Sealant
Once you identify the source of an issue, you must determine the correct course of action depending on the degree of severity. Note that when you need to apply a new bead of sealant, you should work with a building envelope consultant or trusted sealant manufacturer to decide whether to use the same product as previously applied or a compatible alternative. Manufacturers can provide product and system testing to verify compatibility and adhesion with any of the surrounding materials.
If the sealant is performing properly but is slightly damaged on the surface or unsightly, follow these steps to extend the life of the sealant joint:
- Clean the surface of the existing sealant using the two-rag method and isopropyl alcohol for silicone sealants, or xylene for urethane sealants.
- Apply a thin bead of sealant over the cleaned, cured bead, and dry tool.
However, if the sealant is extremely damaged and no longer functioning, you should:
- Remove the damaged sealant, if there is any remaining.
- Clean and prime the substrate as detailed in the new sealant’s application instructions.
- Apply a bead of sealant and dry tool.
- Check for proper adhesion after the sealant has cured. Cure time will vary depending on sealant technology, temperature and humidity.

Properly Cleaning Applied Sealants
It is important to also consider the following steps when cleaning the surface of the sealant to prevent any damage:
- For mild or spot cleaning, use the two-rag method and isopropyl alcohol for silicone sealants, or xylene for urethane sealants.
- More vigorous or larger surface area cleaning of sealants and adjacent substrate surfaces can be achieved through power washing with pressures up to 2000 psi.
- If needed, protect surrounding building components which could be damaged from the pressure.
- Allow a minimum of 12” (30.5 cm) between the spray nozzle and sealant/substrate surface.
- Continually move the nozzle to prevent extended concentration on any one area.
Wrapping Up Sealant Maintenance
Maintaining your building can be a huge undertaking. Sealants are commonly disregarded in this process, but they are a crucial part of the building envelope that must be prioritized. When implementing a maintenance program, ensure that sealant joints are included in inspections to prevent disturbing tenants and costly issues down the line.