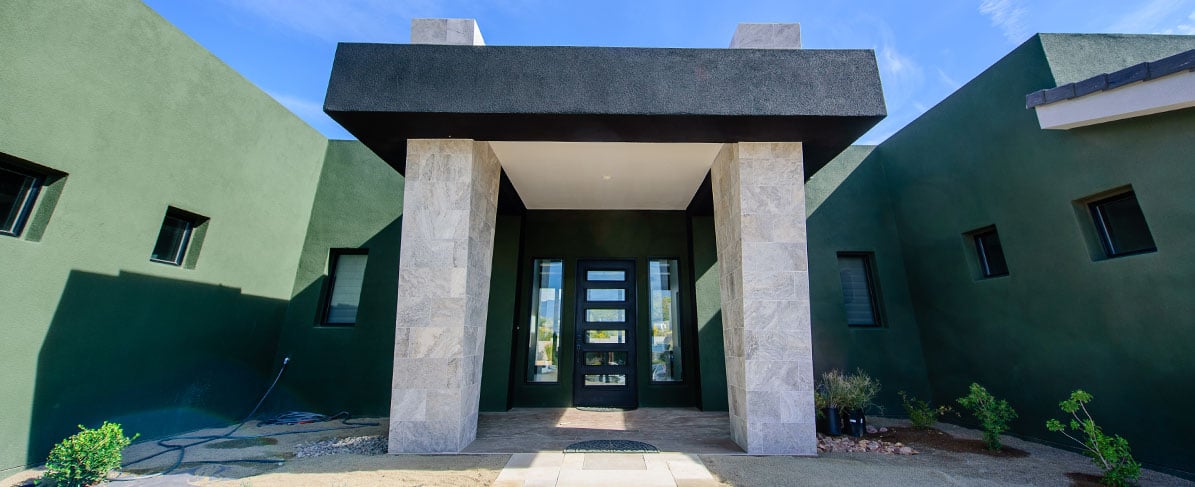
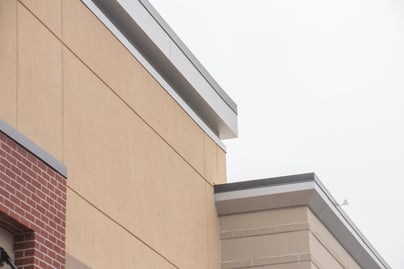
When a smooth, reflective look is desired for the exterior façade of a building, the use of metal panels has tended to be the first choice. However, cost, lead times, weight and other factors may necessitate an alternative approach. The metallic or pearlescent look can be achieved through light-weight materials and high-performance acrylic finishes.
These glossy coatings give architects greater creative freedom in terms of color and design with quicker lead times and added thermal protection. Whether the reflective look is prefabricated on wall panels in a factory setting or done onsite directly to the building façade, accomplishing the desired effect is highly dependent on the craftsmanship of the applicator. Unlike textured surfaces which soften shadows, smooth surfaces easily show any irregularities. This blog post walks through the top 10 tips to achieve a smooth, reflective exterior finish and Class A presentation of the completed project through the design and application stages.
 The Design Stage
Tip 1: Design with Durability in Mind
As with metal panels, impact resistance in high traffic areas can be an issue for reflective coatings, so it is recommended to design the façade with these finishes placed at higher elevations or in non-traffic locations to maximize their longevity. Greater impact-resistance can also be incorporated into the fabrication of these claddings.
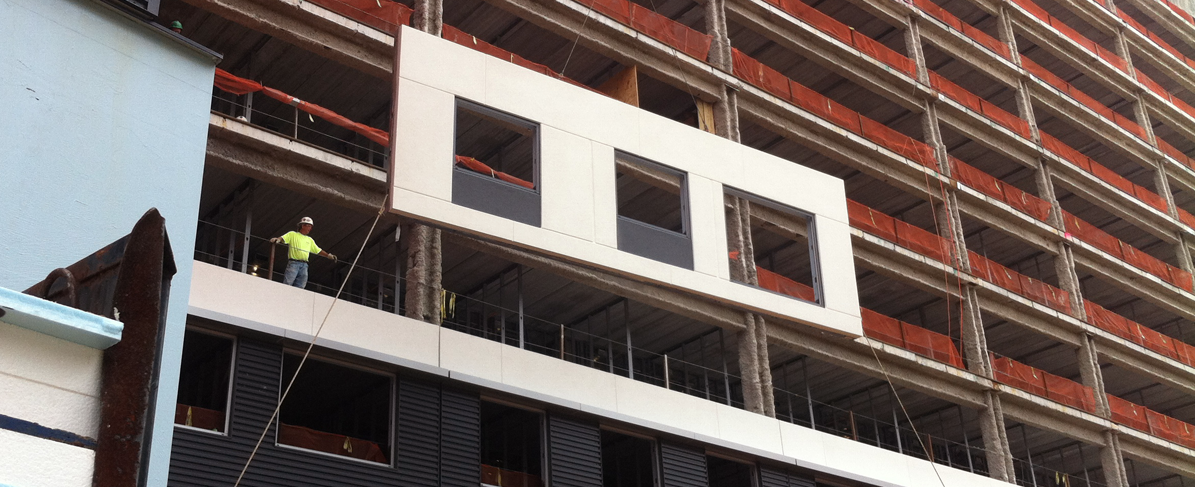
Tip 2: Opportunity for Panelization
Incorporating off-site, prefabricated processes is one of the surest ways to achieve consistent quality of your façade. For exterior wall panelization, there are different design factors to consider in terms of panel size and number of joints due to fabrication and shipping limitations. But when inclement weather would wreak havoc on a field-applied system, prefabrication significantly reduces environmental variables and saves time because the factory-setting minimizes concerns such as improper surface temperature, wind, and precipitation, and any subsequent delays.
The controlled setting is also safer because it reduces the need for scaffolding and tenting of nearby surfaces to prevent overspray. By opting for a panelized approach, you achieve greater quality assurance of the entire wall assembly, including the coating application, since the finish can be applied on the ground at waist level as opposed to several stories up on a scaffold or boom lift.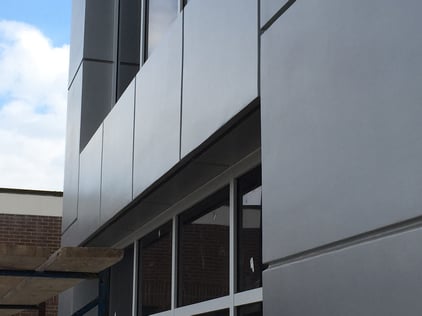
Tip 3: Mockups and Trainings
Mockups are essential for ensuring that the color, sheen and final appearance are what the building owner and architect are looking for and, therefore, must be completed prior to broad application of the product across wall surfaces. These also provide a great opportunity for new applicators to demonstrate their mastery of the application process and points toward a predictable outcome. In-person and virtual trainings from coating manufacturers are available and encouraged to ensure that all parties are comfortable with these processes.
The Application Stage
Tip 4: Substrate Preparation
Substrate preparation is critical to the success of metallic finishes. The application will have several layers, so each ones needs to be smooth. Correcting deficiencies in one layer by using material from subsequent layers will adversely impact the final product. Begin by sanding or repairing any gaps, protrusions, or dents in the substrate so that it is completely flat and level. Make sure surfaces are clean and free of any dust or bond-inhibiting material to ensure proper adhesion. Each subsequent layer of material should be similarly refined as well.
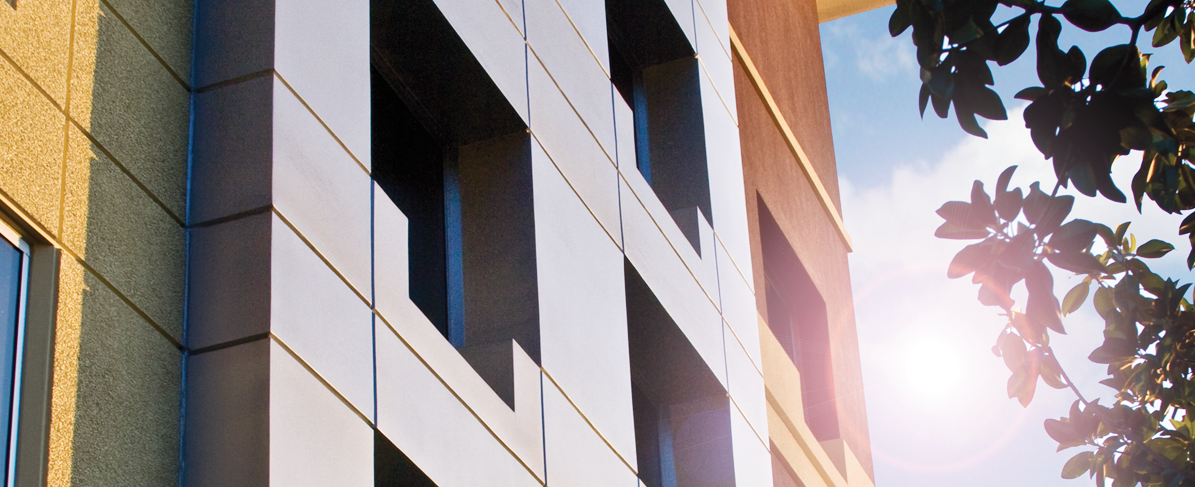
Think of pearlescent coatings as billions of little mirrors swimming around in a liquid. Once the mirror-laden material is applied to the surface and the liquid evaporates, the mirrors reflect light in the direction they are tilted. Consider how grass on a yard or athletic field shows color variations due to the direction of the mower. The grass is all the same color but since it is tilted in opposing directions, it appears as different shades of green. See the closeup picture for how irregularities can show up on the finished product.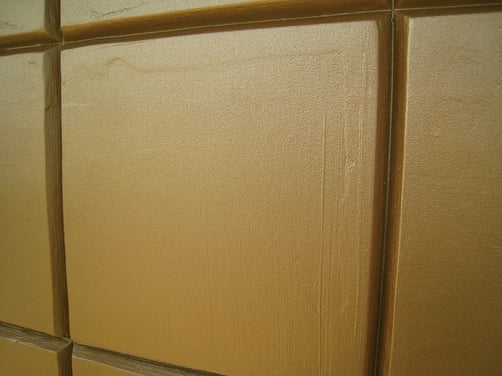
Tip 5: Application Timing
When spraying an acrylic coating on the jobsite, timing is key. Don’t apply the material on windy days to avoid getting product on any unprotected nearby surfaces. Make sure the substrate is within the necessary surface temperature range outlined by the coating manufacturer. Otherwise, you may see a mottled or inconsistent texture of the finish. Lastly, do not spray the product if the surface is wet, if it is raining, or if it may rain within the cure window.
Tip 6: Spraying Precision
Before spraying a new layer of material, make sure the coat is as smooth as possible. Sand, scrape, and/or rub the surface until all defects are removed. Fixing any irregularities now will save you time and effort in trying to repair them later after more coats have been installed.
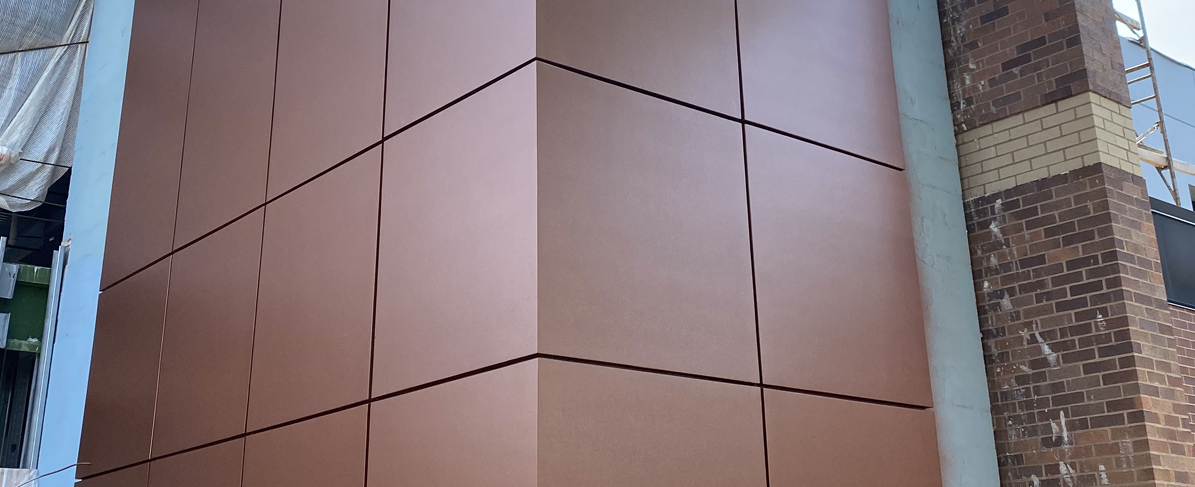
Tip 7: Spray in the Same Direction and Orientation
Whether applying the finish in a factory or on the jobsite, make sure you are always spraying in the same direction and that each panel is oriented the same way. If you go from left to right on some panels and right to left on others, you may create a checkerboard effect once the panels are hung on the building. Compare this to mowing your lawn. Your grass is all the same color but the direction you mow makes a visible difference. An example of this phenomenon and can be seen below.  Tip 8: Sprayer Angle and Distance
The consistency of the spray of the reflective coating is critical. The angle of the sprayer will change the material thickness and final look, so be sure to always keep the sprayer perpendicular to the wall at a consistent distance away from the wall. Note that this can be difficult when outside on scaffolding as cross-braces and other obstacles may require you to reach to apply product to certain areas. Avoid reaching as much as possible.
Tip 9: Added Lights
Because reflective coatings are highly dependent on uniform application, it is helpful to set up additional lights so the applicator can focus on the sheen and see the spray thickness more easily. If areas are dimly lit, it will be hard to see any thin or missed areas of the wall.
Tip 10: Proper Equipment
The success of a reflective coating is highly dependent on the equipment. Not all sprayers are treated equal. The differing pressures and streams will impact the consistency of the application and the final appearance. Refer to the product manufacturer’s installation instructions for recommendations on the sprayer that will produce the best results. Initial investment on new equipment will be worth achieving the most realistic metallic finish.
For more detailed instructions on installing Dryvit's Reflectit™ coating, review this application video.