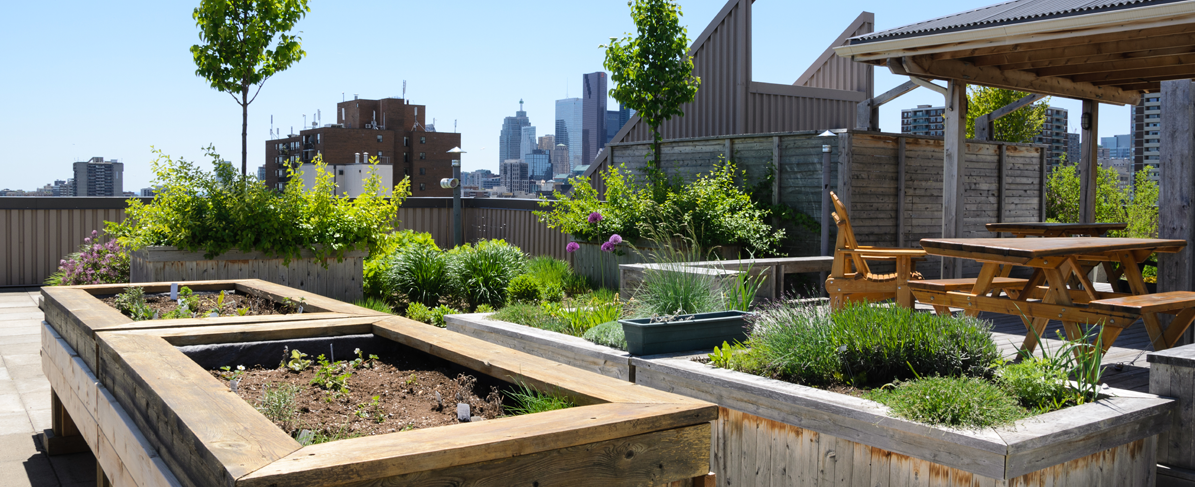
While flowers and vegetation bring natural beauty to properties, the addition of planters can pose a waterproofing nightmare for facility managers and building owners if not designed or constructed properly. Here are some do’s and don’ts for planters to avoid leaks or root intrusion.
What to do when installing planters:
- Planter walls shall be made of cast in place concrete wherever possible. CMU walls may need to be parged with a cementitious product to fill in any voids and ensure a smooth, uniform surface prior to the application of the waterproofing system.
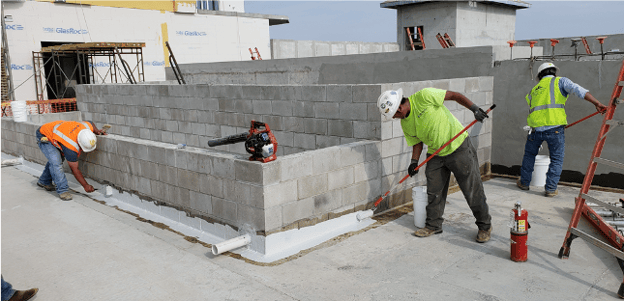
- For planters on plaza decks, installation of “waterproofing block trails” beneath planter walls is recommended to allow for a monolithic waterproofing application across the entire deck surface.
- Properly repair and detail any cracks, voids, spalls, or penetrations of the planter before installing the waterproofing system.
- Install a waterproofing system that is most appropriate for the specific planter application. Hot-applied waterproofing products can create difficult and unsafe installation conditions for the applicators. Alternatively, cold fluid applied systems may be better for taller planters or those in tight conditions due to their ease of application.
- Ensure all penetrations and drains are installed prior to the start of the waterproofing application. This allows for all of the detail work to be completed at the same time.
- Install an appropriate root barrier to minimize any roots penetrating the waterproofing membrane. Alternatively, waterproofing membranes with PUMA technology can also act as a root barrier, eliminating the need to add a separate protection course and root barrier product.
- For plaza deck planters, ensure the concrete slab is sloped to a drain(s).
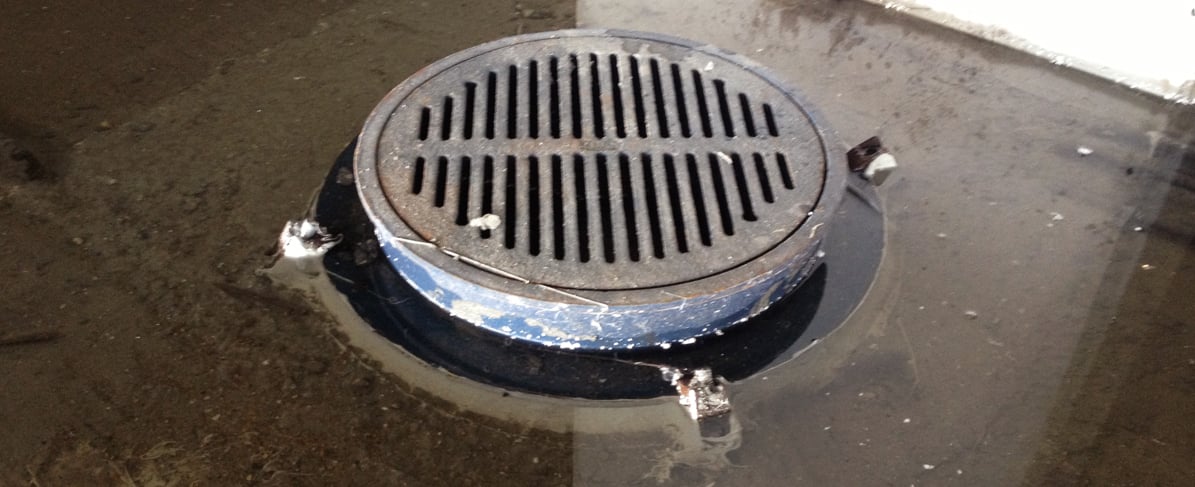
Ensure that the drain is installed flush or below the surface of the planter for proper drainage. Drainage mat and root barrier materials shall be installed beneath the clamping ring of the planter drain.
What not to do when installing planters: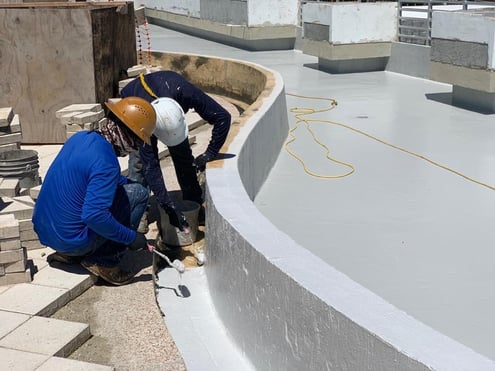
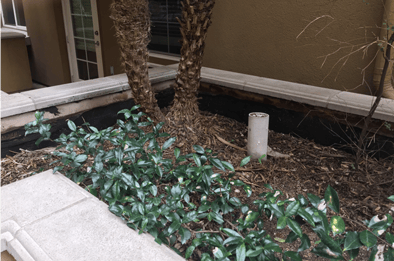
- Do not overplant the planter with landscaping that will be too large for the planter when mature. For example, a young palm tree may fit into a planter now, but as it and its root system grows, it has the strength to crack the surrounding concrete and destroy the planter.
- Don’t use an adjacent building wall as one side of the planter. It is best to avoid having the planter wall be the building wall. A separate wall dividing the planter from the building is always recommended. Waterproofing shall be installed at the building wall behind the planter wall for added protection.
- Don’t neglect the maintenance of the planter. Maintain the fill levels of the dirt and soil to prevent direct exposure and UV degradation of the waterproofing and protection materials.
- Check drain access port monthly for clogs.
- Don’t use drains that are not designed for planter use. There are drains designed specifically for use in planters and will be outfitted with a “cleanout” access stack/port.
For building owners, adding some planters may seem like a simple endeavor, but there are several detail-oriented factors that play into their installation and maintenance to prevent clogged drains, water leaks, and concrete cracks from root intrusion. Avoid these waterproofing issues by following the above recommendations and the application instructions provided by your system manufacturer.